Dry Propagation Method: The Low‑Mess Way To Multiply Plants Without Watering Cuttings
Dry propagation might sound risky, but studies on Salakhani pomegranate show that even non‑soaked hardwood cuttings can reach around 60% rooting, which is surprisingly high for a “no soak” approach. In this guide we walk you through how we use dry propagation methods to root succulents, woody plants, and houseplants with minimal watering and maximum control.
Key Takeaways
| Question | Short Answer |
| What is the dry propagation method? | It is a way of rooting cuttings or pieces of plants with very limited watering. Cuttings are left to callus, then placed in a gritty, airy mix that stays mostly dry at first. |
| Which plants respond best to dry propagation? | Succulents, cacti, and many drought‑tolerant species such as moonstones and lithops respond very well, as shown in our succulent propagation guide. |
| Why is callusing important? | Letting a cutting dry and harden at the wound reduces the chance of rot when you finally place it on the soil, especially in species like moonstone succulents. |
| Does substrate choice matter in dry propagation? | Yes, very much. Research shows sand or coir‑based mixes, not heavy peat, tend to root better under low‑moisture conditions. |
| Can we apply dry techniques to houseplants? | Yes, many indoor plants like peperomia can be rooted using slightly dry, airy media, as we discuss in our guide on how to propagate peperomia. |
| How do we avoid transplant shock with dry‑propagated plants? | We harden off rooted cuttings slowly and follow practices from our article on avoiding transplant shock. |
| Where can I learn species‑specific tips? | Check our focused guides, for example on growing lithops or caring for Dancing Bones cactus, where we adapt dry propagation ideas to each plant. |
1. What “Dry Propagation Method” Actually Means
When we talk about the dry propagation method, we mean rooting cuttings with very restrained watering and a strong focus on callusing and airy media. Instead of immediately potting and soaking cuttings, we let them dry, harden, then rest on or in almost dry mix until roots start forming.
This approach is especially handy for plants that rot easily in wet soil. Succulents, cacti, and lithops respond well because their tissues already store moisture and do not need constant water contact to root.
Why growers like dry propagation
Dry propagation gives us more control over rot, which is the main reason cuttings fail. By starting dry, we reduce fungal problems and can slowly increase moisture only when roots are visible.
It is also simpler for beginners, because you are not constantly guessing how wet the soil should be. The default is dry or barely damp, which is more forgiving with desert plants.

2. Science Snapshot: Why Dry Propagation Can Work So Well
Research gives us a useful backdrop for dry techniques. In Salakhani pomegranate hardwood cuttings, non‑soaked cuttings still reached about 60% rooting, which shows that a plant can form roots even if we do not pre‑soak or flood the medium.
The same study showed that substrate choice matters. Sand gave higher rooting percentages than peat under low‑moisture conditions, which lines up with what we see in gritty mixes for succulents.
Substrate performance under low moisture
Across experiments with pomegranate and conifers, sand and coconut coir often outperform heavy peat. These media keep air around the base of the cutting and avoid the constant wetness that encourages rot.
A composite look at several studies suggests that in many dry or no‑soak setups, coir and sand‑based mixes outperform peat and plain sand alone, especially when paired with rooting promoters or beneficial microbes.


3. Core Steps Of The Dry Propagation Method
Across the different plants we grow, the dry method always follows a similar pattern. We take a cutting, allow it to callus, set it onto a well‑draining medium, hold off on watering, then introduce light moisture only after roots form.
These steps change slightly by species, but the structure stays the same, so once you understand it you can apply it widely.
Basic dry propagation workflow
- Take a clean cutting or leaf.
- Let the wound dry and callus in open air.
- Place the callused piece on or into a dry or barely damp mix.
- Avoid watering for several days to weeks, depending on the plant.
- Introduce light watering only after roots appear.
We will go deeper into each of these with specific plants in the next sections. Think of this as your template that you can tweak by species and season.

Explore five simple dry propagation methods. This infographic quickly explains how to propagate plants using dry techniques.
4. Dry Propagation With Succulents: Moonstones, Lithops And Friends
Succulents are the easiest place to experiment with dry propagation methods. They naturally store water in leaves and stems, so they do not depend on constant moisture around the cutting base.
Our guides on moonstones and lithops rely heavily on dry handling of cuttings and offsets, because those plants are extremely sensitive to rot when kept wet for too long.
Moonstone succulents and dry leaf propagation
Moonstone succulents (Pachyphytum oviferum) root very reliably from dry leaf cuttings. We gently twist off whole, undamaged leaves, lay them in a bright, dry place, and give them several days to form callus.
Once the edges are dry and slightly firm, we place them on top of a gritty, almost dry mix and wait. Roots and tiny rosettes appear at the base without us watering at all for a while.

5. Step‑By‑Step: Dry Leaf And Stem Propagation For Succulents
We use a very similar pattern for many succulent varieties when we propagate them the “dry” way. The main variation is the length of the callus period and how quickly we introduce water afterward.
Leaf cuttings: dry method walkthrough
- Choose a healthy, plump leaf and remove it cleanly from the stem.
- Rest the leaf on a tray in bright, indirect light for several days until the wound is dry.
- Place the callused leaf on top of a dry, fast‑draining mix, do not bury it.
- Wait for roots and a baby rosette to emerge before lightly misting the soil, not the leaf.
Stem cuttings: dry method walkthrough
- Cut a healthy stem section and remove the lower leaves.
- Air dry until the cut surface is firm and slightly shriveled.
- Insert the stem into a dry or barely damp gritty mix.
- Hold off on watering for several days, then water sparingly once roots form.

6. Dry‑Leaning Propagation For Cacti And “Living Stones”
Cacti and lithops reward patience and a dry approach more than almost any other plants we grow. They naturally live in climates where moisture arrives in short pulses, not as constant dampness.
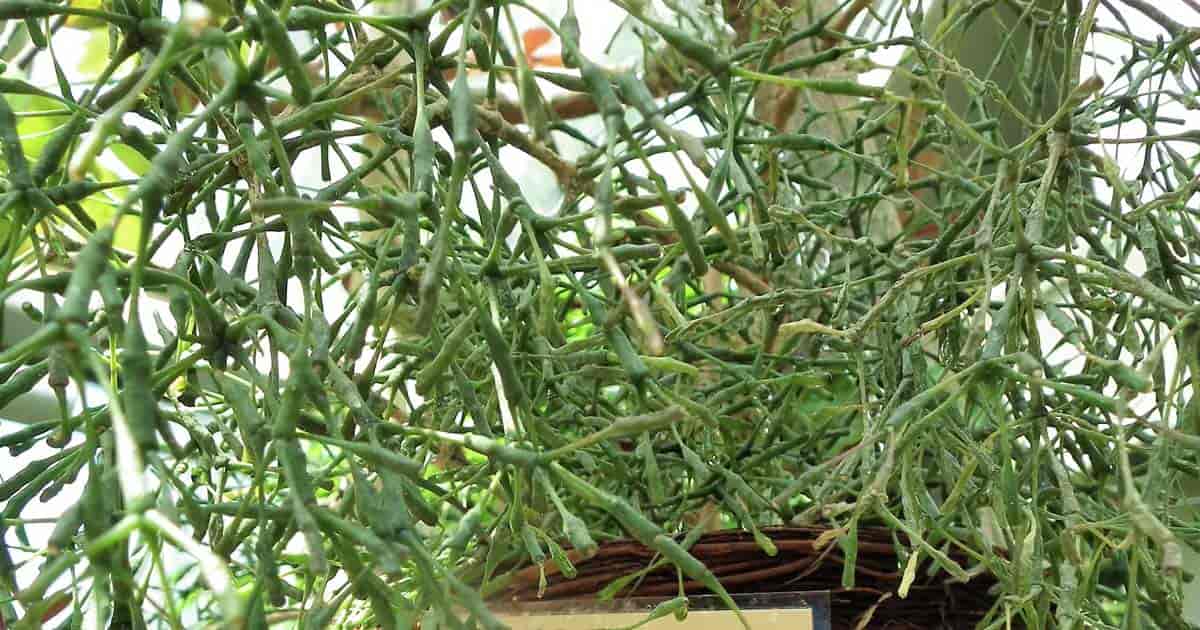
For Dancing Bones cactus, we often dry the cut ends for several days before placing the segments into a very open mix. This reduces the chance of soft rot traveling into the stem.
Lithops: propagation through division and careful dryness
Lithops are usually propagated from seed, but mature clumps can be gently divided. We treat those divisions almost like leafless succulents and focus on keeping the medium very dry at first.
Our lithops care practices center around bright light, well‑draining soil, and strong watering restraint, and the same rules help a lot when you are trying to get new offsets established.

7. Houseplants And Semi‑Dry Propagation: Peperomia As An Example
Not all houseplants enjoy fully dry propagation, but many take well to a semi‑dry version of it. Peperomia is a good example where we use a light, airy mix and very cautious watering instead of the soaking approach used for some tropical cuttings.
We often propagate peperomia from stem or leaf cuttings using a medium that is just barely moist at the start, then allowed to dry slightly between mistings so the stems do not sit in wetness.
Adapting the method for non‑succulent houseplants
For houseplants that prefer a bit more moisture, we still borrow from dry propagation by focusing on drainage, callus time, and light watering. The idea is to never let the cutting feel waterlogged.
We also time propagation for seasons when the plant is actively growing, so it can root faster before any stored energy is used up.
8. Media, Moisture And Timing: Fine‑Tuning The Dry Method
Dry propagation is not only about withholding water, it is about combining the right medium, moisture level, and timing. An airy mix can hold just enough humidity around the cutting without becoming soggy.
Studies on pomegranate and pine show that coir and sand‑based media often perform best in low‑moisture setups, while heavy peat can limit oxygen around the cutting and reduce rooting percentages.
Choosing a substrate for dry propagation
| Medium | Pros in Dry Propagation | Potential Downsides |
| Coarse sand | Excellent drainage, good for woody and succulent cuttings, reduces rot risk. | Dries very fast, may need light misting once roots appear. |
| Coconut coir | Holds gentle moisture while staying airy, good for semi‑dry setups. | Can compact if used alone, often best mixed with perlite or grit. |
| Peat‑heavy mixes | Hold moisture well for tropicals. | Too heavy and wet for strict dry propagation, higher rot risk. |
We also pay close attention to season. Rooting tends to be much stronger in spring and early summer, especially for woody species, than in the cold part of the year.
9. Avoiding Rot, Shock And Other Common Dry Propagation Problems
Even with a dry approach, cuttings can fail if we rush watering, use the wrong medium, or transplant too early. We treat dry‑propagated pieces gently, as if they are seedlings with a limited energy reserve.
One of our main habits is to keep newly rooted cuttings in their propagation container a bit longer, so the root system can fill out before we move them and change watering patterns.
Simple habits that improve success
- Always clean your tools before taking cuttings.
- Let cut surfaces callus fully instead of rushing to pot them.
- Err on the side of too dry rather than too wet, especially for succulents and cacti.
- When you do water, water the soil, not the cutting itself.
- Increase light gradually after rooting so cuttings are not stressed.
When it is time to transplant out of the propagation tray, we follow the same gentle steps we use to avoid transplant shock in other contexts, such as keeping roots shaded and firming soil lightly around them.
10. When To Use Dry Propagation And When To Dial It Back
The dry propagation method is not a one‑size approach for every plant. We reach for it most aggressively with succulents, cacti, lithops, and woody species that are prone to rot.
For moisture‑loving tropicals or soft‑stemmed cuttings that wilt quickly, we often blend dry ideas with moderate moisture instead of going fully dry.
Quick decision guide
- Use a mainly dry approach for succulents, cacti, lithops, woody drought‑tolerant shrubs.
- Use semi‑dry for peperomia and other thicker‑leaved houseplants.
- Use more classic moist methods for thin‑leaved tropicals that dislike wilting.
By matching the technique to the plant’s natural environment, we stack the odds in our favor and make propagation feel calmer and more predictable.
Conclusion
The dry propagation method gives us a simple, low‑mess way to grow new plants from cuttings without constantly worrying about soggy soil. By focusing on callusing, airy media, careful timing, and gentle watering, we can root a wide range of species with fewer losses to rot.
Start practicing with forgiving succulents like moonstones, then branch out to lithops, cacti, and suitable houseplants. As you tune the dryness level to each plant, you will find a rhythm that fits your space, your schedule, and your growing style.